Say Goodbye to Pesky Candle Wax
Table of Contents
Summary
A Professional's Guide to Chemical Wax Removal
A candle wax spill can feel like a domestic disaster, transforming a moment of ambiance into a stubborn, frustrating mess. For professional cleaners and restoration specialists, it's a common challenge that requires a deep understanding of chemistry to resolve without causing further damage. Simple scraping and heating methods often fail, especially with dyed wax on delicate surfaces. This definitive technical guide explores the science of wax and dye removal, provides step-by-step professional procedures for various surfaces, and details the critical role of high-purity solvents in achieving a flawless restoration.
The Chemistry of the Challenge: Wax and Dye
To defeat the enemy, you must first understand it. A wax spill presents two distinct chemical challenges that must be addressed separately.
Challenge 1: The Wax Residue
Candle wax is a complex mixture of long-chain hydrocarbons (like paraffin) or esters (like beeswax). These are non-polar, organic compounds. The principle of "like dissolves like" dictates that they are highly resistant to polar solvents like water. When spilled, the hot liquid wax penetrates porous surfaces (wood, grout) and mechanically interlocks with fibers (carpet, upholstery), making it incredibly difficult to remove physically.
Challenge 2: The Dye Stain
Colored candles contain potent, oil-soluble dyes. After the wax residue has been removed, these dye molecules often remain chemically bonded to the surface, leaving a stubborn stain. This requires a different chemical approach than removing the wax itself.
The Professional's Arsenal: A Multi-Solvent Approach
There is no single "magic bullet" for all wax spills. A professional approach requires selecting the right solvent for the specific combination of wax, dye, and surface material.
| Solvent | Primary Use | Key Advantage | Best For... |
|---|---|---|---|
| Acetone | Aggressive Wax & Dye Removal | Extremely powerful and fast-acting on a wide range of dyes and waxes. | Hard, non-porous, un-finished surfaces (glass, ceramic, metal). Cleaning up tools. |
| Isopropyl Alcohol (99%) | Wax & Dye Removal on Fabrics | Effective solvent that is generally safer on synthetic fibers and dyes than acetone. | Carpet, upholstery, most clothing (after testing). |
| d-Limonene | Gentle Wax Residue Removal | Bio-based, excellent at dissolving waxy hydrocarbons, less harsh than other solvents. | Finished wood surfaces (after testing), removing sticky residues. |
| Glacial Acetic Acid | Specialized Restoration | Used in conservation for highly specific, controlled cleaning protocols. (Not for general use). | Professional textile and art conservation. |
Professional Procedure: A Step-by-Step Guide
This multi-stage process ensures both the wax and the dye are fully removed without damaging the underlying surface.
Step 1: Mechanical Hardening and Removal
Do not try to wipe up hot wax. You will only spread the stain. The first step is to harden the wax for easy removal. Place a bag of ice over the spill. Once the wax is completely brittle, use a dull, rigid edge (like a credit card or plastic scraper) to gently chip away and vacuum up as much of the bulk wax as possible.
Step 2: The Heat Transfer Method
This step removes the remaining embedded wax residue.
- Place a clean, absorbent white cloth or a brown paper bag over the remaining wax stain.
- Using an iron on a low, no-steam setting, gently press on the cloth/bag.
- The heat will melt the wax, which will then be absorbed (wicked) up into the absorbent material. Move to a clean section of the cloth/bag and repeat until no more wax is being absorbed.
At this point, you have removed the wax. Now you must treat the dye stain.
Step 3: Chemical Solvent Application (Stain Removal)
How-To: Removing the Dye Stain
ALWAYS test your chosen solvent on an inconspicuous area first (e.g., inside a closet for carpet, a hem for fabric) to ensure it does not damage the color or material.
- Apply a small amount of your chosen solvent—typically 99% Isopropyl Alcohol for fabrics—to a clean, white cloth.
- Blot, do not rub. Gently blot the stain from the outside in to prevent it from spreading. You should see the dye transfer from the surface to your cloth.
- Continue with a clean section of the cloth until no more dye is transferring.
- For extremely stubborn stains on hard surfaces, a more aggressive solvent like Acetone may be required, but test for surface compatibility with extreme care.
Step 4: Final Rinse and Dry
After the dye is removed, lightly blot the area with a cloth dampened with water to remove any residual solvent. Allow the area to air dry completely. For carpets, you can use a fan to speed up the process.
Surface-Specific Considerations
Porous Wood (Unfinished or Oiled)
Wax can soak deep into the grain. After scraping, use a cloth dampened with a gentle solvent like d-Limonene, always wiping with the grain. You may need to re-oil or re-finish the spot after cleaning.
Finished Wood
The heat transfer method is often sufficient. If a solvent is needed for a dye stain, start with the mildest option, Isopropyl Alcohol, as stronger solvents like Acetone can strip the finish.
Deep-Pile Carpet
Be extremely patient with the heat transfer step to draw out wax from deep within the fibers. When using a solvent, apply it sparingly to a cloth rather than pouring it directly on the carpet to avoid saturating the backing.
MANDATORY Safety Protocols for Solvents
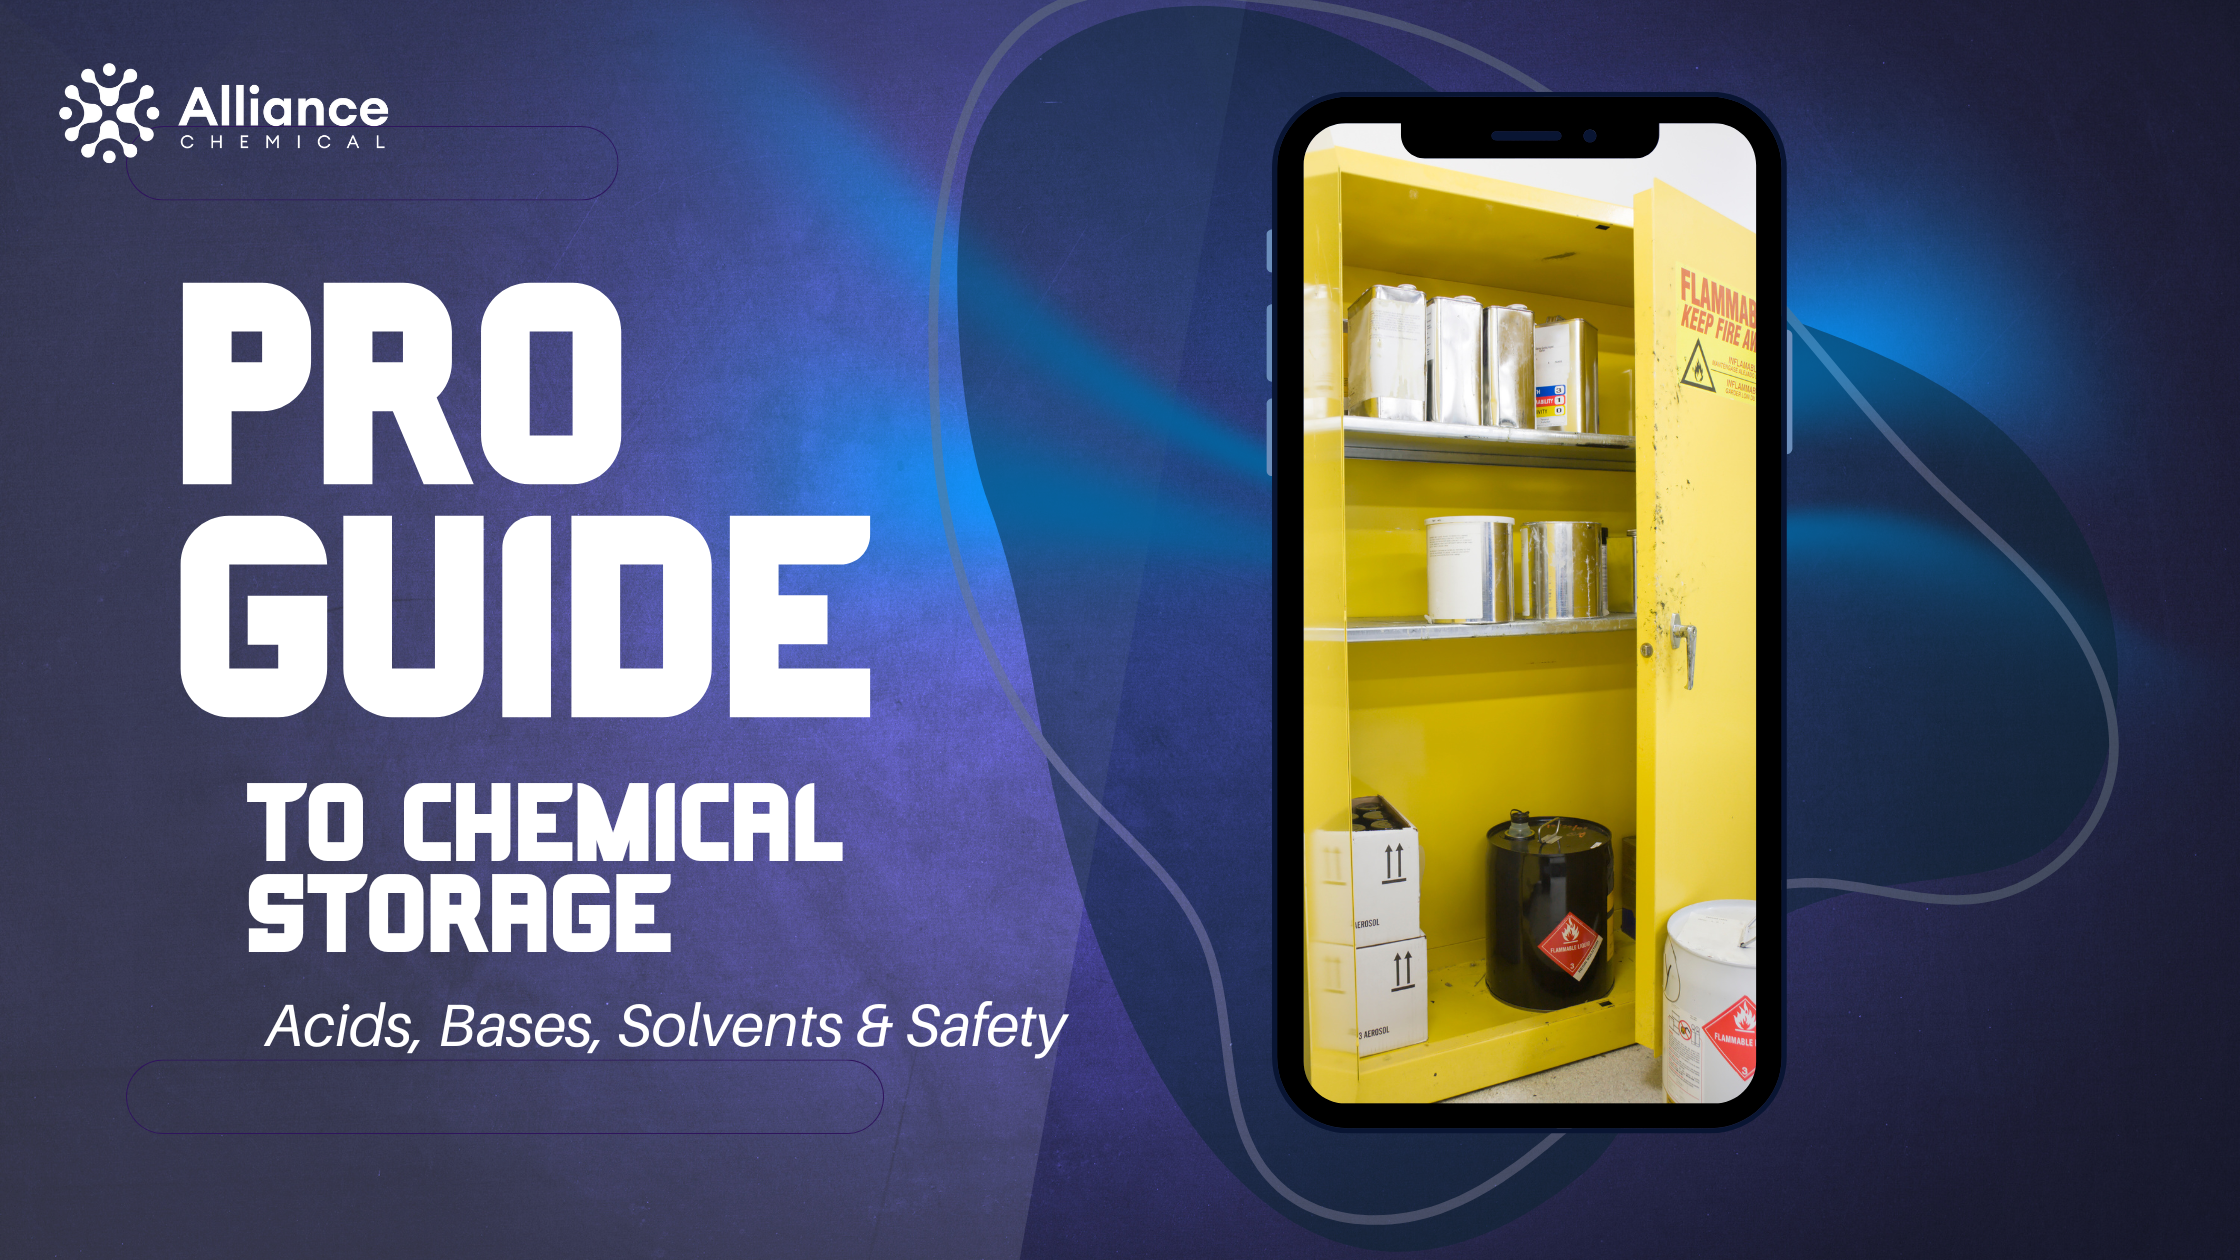
The solvents recommended here are volatile, flammable, and their fumes can be hazardous. This is for professional or highly skilled use only.
- EXTREME FLAMMABILITY: Acetone and Isopropyl Alcohol are highly flammable. Extinguish all pilot lights and eliminate ALL sources of ignition from the area before you begin.
- Ventilation is CRITICAL: Ensure you have excellent cross-ventilation. Open windows and use fans to direct fumes outside. Do not work in a small, enclosed room.
- Respiratory Protection: A NIOSH-approved respirator with organic vapor (OV) cartridges is strongly recommended to prevent inhalation of fumes, which can cause respiratory irritation and dizziness.
- Personal Protective Equipment (PPE): Always wear chemical-resistant gloves (nitrile) and splash-proof safety goggles.


